We are currently experiencing intermittent UrlFetchApp errors in Apps Script:
Exception: Bandwidth quota exceeded: <url>. Try reducing the rate of data transfer.
This started suddenly around April 2026 and matches the public issue reported here:
https://issuetracker.google.com/issues/505172128
The problem is that the error happens even with low usage, small payloads, and previously stable scripts. In our case, this makes Apps Script web apps unreliable because any server-side API call using UrlFetchApp.fetch() can randomly fail.
This article shows the workaround I used: move the API call to Cloud Run and call Cloud Run directly from the Apps Script frontend using client-side fetch().
We will replace this API call:
const response = Sheets.Spreadsheets.Values.get(ssId, sheetName);With:
Apps Script Web App
  ↓ client-side fetch()
Cloud Run service
  ↓ Google Sheets API
Spreadsheet data
Apps Script only serves the HTML page. The browser calls Cloud Run. Cloud Run reads the spreadsheet using the Sheets API and returns JSON.
1. Create the Cloud Run service
Create a local folder with:
package.json
server.js
package.json
{
  "name": "sheets-api-proxy",
  "version": "1.0.0",
  "type": "module",
  "main": "server.js",
  "scripts": {
    "start": "node server.js"
  },
  "dependencies": {
    "express": "^4.18.3",
    "googleapis": "^144.0.0"
  }
}
server.js
import express from "express";
import { google } from "googleapis";const app = express();app.use(express.json());const PORT = process.env.PORT || 8080;
const SPREADSHEET_ID = process.env.SPREADSHEET_ID;/**
* Adds CORS headers for Apps Script web app frontend calls.
*
* @param {import("express").Request} req The Express request.
* @param {import("express").Response} res The Express response.
* @param {import("express").NextFunction} next The next Express middleware.
* @returns {void}
*/
function corsMiddleware(req, res, next) {
const origin = req.headers.origin || ""; const isAllowedOrigin =
origin === "https://script.google.com" ||
origin.endsWith(".googleusercontent.com"); if (isAllowedOrigin) {
res.setHeader("Access-Control-Allow-Origin", origin);
} res.setHeader("Vary", "Origin");
res.setHeader("Access-Control-Allow-Methods", "GET,OPTIONS");
res.setHeader("Access-Control-Allow-Headers", "Content-Type,Authorization"); if (req.method === "OPTIONS") {
res.status(204).send("");
return;
} next();
}app.use(corsMiddleware);/**
* Creates an authenticated Google Sheets API client.
*
* @returns {Promise<import("googleapis").sheets_v4.Sheets>} The authenticated Sheets API client.
*/
async function getSheetsClient() {
const auth = new google.auth.GoogleAuth({
scopes: ["https://www.googleapis.com/auth/spreadsheets.readonly"]
}); const authClient = await auth.getClient(); return google.sheets({
version: "v4",
auth: authClient
});
}/**
* Reads values from a Google Sheet range.
*
* @param {string} range The A1 notation range.
* @returns {Promise<Array<Array<string|number|boolean>>>} The sheet values.
*/
async function readSheetValues(range) {
const sheets = await getSheetsClient(); const response = await sheets.spreadsheets.values.get({
spreadsheetId: SPREADSHEET_ID,
range
}); return response.data.values || [];
}/**
* Converts a 2D array into objects using the first row as headers.
*
* @param {Array<Array<string|number|boolean>>} values The sheet values.
* @returns {Array<Object>} The rows as objects.
*/
function valuesToObjects(values) {
if (!values.length) {
return [];
} const [headers, ...rows] = values; return rows.map(row => {
return headers.reduce((obj, header, index) => {
obj[String(header)] = row[index] ?? "";
return obj;
}, {});
});
}app.get("/api/sheet", async (req, res) => {
try {
if (!SPREADSHEET_ID) {
res.status(500).json({
error: "Missing SPREADSHEET_ID environment variable"
});
return;
} const range = req.query.range || "Sheet1!A1:Z";
const values = await readSheetValues(range);
const rows = valuesToObjects(values); res.json({
range,
rowCount: rows.length,
rows
});
} catch (error) {
console.error("SHEETS_API_READ_FAILED", {
message: error.message,
stack: error.stack
}); res.status(500).json({
error: "Failed to read spreadsheet data",
message: error.message
});
}
});
app.listen(PORT, () => {
console.log(`Sheets proxy listening on port ${PORT}`);
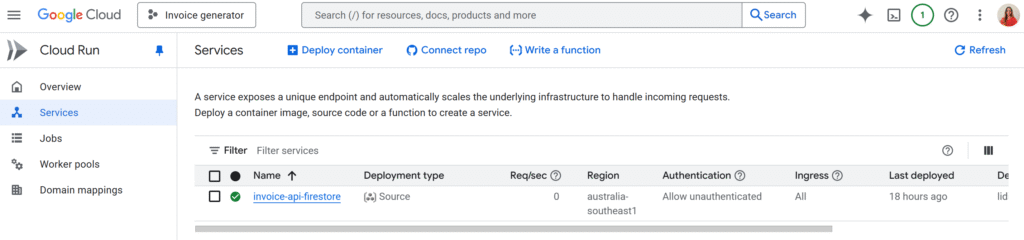
}2. Deploy to Cloud Run
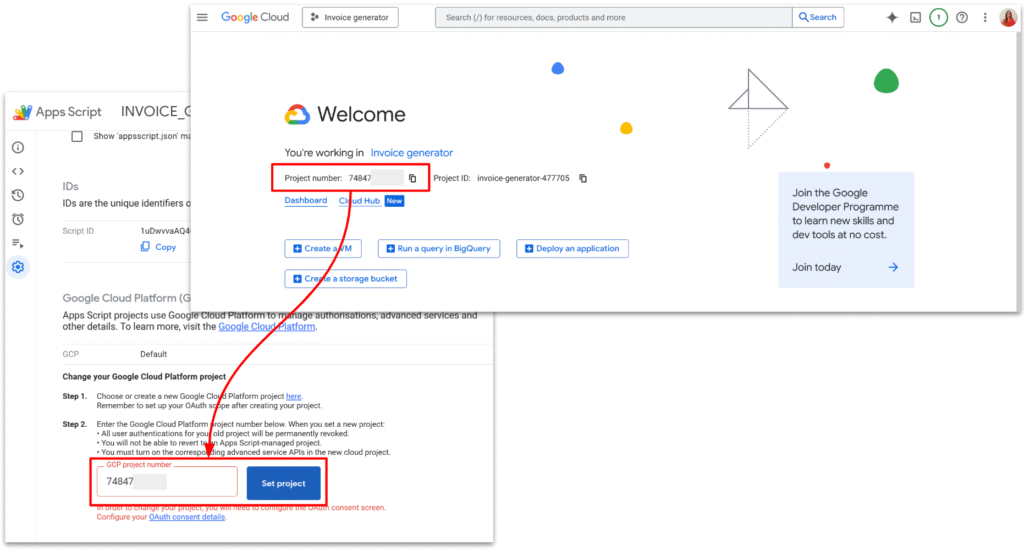
From VS Code, login to Google Cloud, link the porject (has to be linked to a billing account in order to deploy on Cloud Run), and set the region.
gcloud auth login
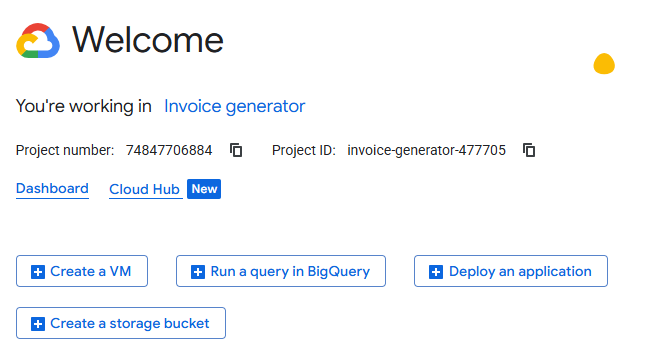
gcloud config set project YOUR_PROJECT_ID
gcloud config set run/region europe-west1Deploy:
gcloud run deploy sheets-api-proxy `
  --source . `
  --region europe-west1 `
  --allow-unauthenticated `
  --set-env-vars="SPREADSHEET_ID=YOUR_SPREADSHEET_ID"
After deployment, Cloud Run gives you a URL like:
https://sheets-api-proxy-xxxx.europe-west1.run.app
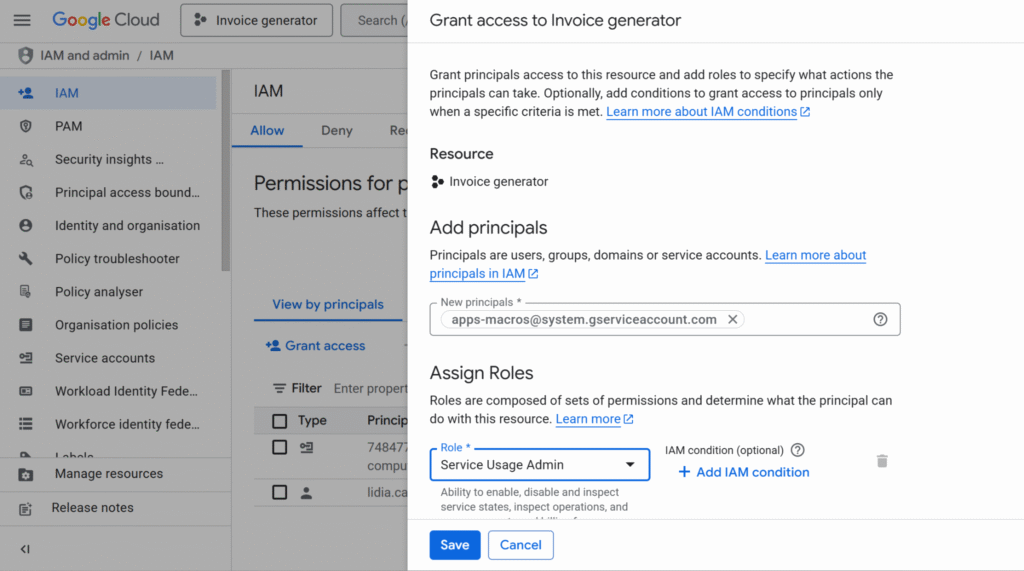
3. Fix the common IAM issue
If deployment fails with something like:
Build failed because the default service account is missing required IAM permissions
check which service account is used:
gcloud builds get-default-service-account
Then grant the required role:
gcloud projects add-iam-policy-binding YOUR_PROJECT_ID `
  --member="serviceAccount:YOUR_SERVICE_ACCOUNT" `
  --role="roles/run.builder"
4. Share the Google Sheet with Cloud Run
Cloud Run does not run as your Gmail account. It runs as a service account. Find the runtime service account:
gcloud run services describe sheets-api-proxy `
  --region europe-west1 `
  --format="value(spec.template.spec.serviceAccountName)"
If the result is empty, it is probably using the Compute Engine default service account:
PROJECT_NUMBER-compute@developer.gserviceaccount.comShare the Google Sheet with that email and give it Viewer access.
5. Create the Apps Script web app
In Apps Script, create:
/**
 * Serves the web app HTML.
 *
 * @param {GoogleAppsScript.Events.DoGet} e The GET event object.
 * @returns {GoogleAppsScript.HTML.HtmlOutput} The HTML output.
 */
function doGet(e) {
  return HtmlService
    .createHtmlOutputFromFile("Index")
    .setTitle("Cloud Run Sheets Reader");
}
And Index.html
<!DOCTYPE html>
<html>
<head>
  <base target="_top">

  <style>
    body {
      font-family: Arial, sans-serif;
      padding: 24px;
      background: #f7f7f7;
      color: #222;
    }

    button {
      padding: 10px 16px;
      border: none;
      border-radius: 8px;
      background: #1a73e8;
      color: white;
      cursor: pointer;
      font-size: 14px;
    }

    button:disabled {
      opacity: 0.6;
      cursor: not-allowed;
    }

    #status {
      margin: 16px 0;
      color: #555;
    }

    table {
      width: 100%;
      border-collapse: collapse;
      background: white;
    }

    th,
    td {
      border-bottom: 1px solid #ddd;
      padding: 10px;
      text-align: left;
    }

    th {
      background: #f1f3f4;
    }
  </style>
</head>

<body>
  <h2>Sheet data from Cloud Run</h2>

  <button id="load-btn" onclick="loadSheetData()">Load data</button>

  <div id="status"></div>
  <div id="table-container"></div>

  <script>
    const CLOUD_RUN_URL = "https://YOUR_CLOUD_RUN_URL";
    const SHEET_RANGE = "Sheet1!A1:Z";

    /**
     * Reads spreadsheet data from Cloud Run and displays it as a table.
     *
     * @returns {Promise<void>}
     */
    async function loadSheetData() {
      const button = document.getElementById("load-btn");
      const status = document.getElementById("status");
      const container = document.getElementById("table-container");

      try {
        button.disabled = true;
        status.textContent = "Loading...";
        container.innerHTML = "";

        const range = encodeURIComponent(SHEET_RANGE);
        const response = await fetch(`${CLOUD_RUN_URL}/api/sheet?range=${range}`);

        if (!response.ok) {
          throw new Error(`Cloud Run request failed with status ${response.status}`);
        }

        const data = await response.json();

        renderTable(data.rows || []);
        status.textContent = `${data.rowCount || 0} rows loaded`;
      } catch (error) {
        console.error(error);
        status.textContent = error.message;
      } finally {
        button.disabled = false;
      }
    }

    /**
     * Renders rows as an HTML table.
     *
     * @param {Array<Object>} rows The rows to render.
     * @returns {void}
     */
    function renderTable(rows) {
      const container = document.getElementById("table-container");

      if (!rows.length) {
        container.innerHTML = "<p>No data found.</p>";
        return;
      }

      const headers = Object.keys(rows[0]);

      const thead = headers
        .map(header => `<th>${escapeHtml(header)}</th>`)
        .join("");

      const tbody = rows
        .map(row => {
          const cells = headers
            .map(header => `<td>${escapeHtml(row[header])}</td>`)
            .join("");

          return `<tr>${cells}</tr>`;
        })
        .join("");

      container.innerHTML = `
        <table>
          <thead>
            <tr>${thead}</tr>
          </thead>
          <tbody>
            ${tbody}
          </tbody>
        </table>
      `;
    }

    /**
 * Escapes a value before injecting it into HTML.
 *
 * @param {*} value The value to escape.
 * @returns {string} The escaped HTML string.
 */
function escapeHtml(value) {
  return String(value ?? "")
    .replaceAll("&", "&")
    .replaceAll("<", "<")
    .replaceAll(">", ">")
    .replaceAll('"', """)
    .replaceAll("'", "'");
}
  </script>
</body>
</html>
Deploy the Apps Script project as a web app. When you click the button, the browser calls Cloud Run directly.
No UrlFetchApp is used in this call path.
6. About CORS
Apps Script web apps are often served from a googleusercontent.com origin, not only from script.google.com.
That is why the Cloud Run code allows both:
origin === "https://script.google.com" ||
origin.endsWith(".googleusercontent.com")
7. Adding authentication
The demo above uses: –allow-unauthenticated
This is fine for testing, but not for production.
CORS is not authentication. It only controls browser access. Someone can still call your Cloud Run URL from another backend, Postman, or curl.
To reproduce the usual Apps Script behavior, Apps Script can generate a short-lived signed token for the current user. The browser sends that token to Cloud Run, and Cloud Run verifies it before returning data.
Apps Script server-side:
const CLOUD_RUN_SHARED_SECRET = "CHANGE_ME_LONG_RANDOM_SECRET";

/**
 * Creates a short-lived token for Cloud Run.
 *
 * @returns {string} The signed token.
 */
function getCloudRunToken() {
  const now = Math.floor(Date.now() / 1000);

  const payload = {
    iat: now,
    exp: now + 300,
    userEmail: Session.getActiveUser().getEmail()
  };

  const payloadText = JSON.stringify(payload);
  const payloadBase64 = Utilities.base64EncodeWebSafe(payloadText);
  const signature = Utilities.computeHmacSha256Signature(payloadBase64, CLOUD_RUN_SHARED_SECRET);
  const signatureBase64 = Utilities.base64EncodeWebSafe(signature);

  return `${payloadBase64}.${signatureBase64}`;
}
Frontend:
/**
 * Gets a short-lived Cloud Run token from Apps Script.
 *
 * @returns {Promise<string>} The signed token.
 */
function getCloudRunTokenFromServer() {
  return new Promise((resolve, reject) => {
    google.script.run
      .withSuccessHandler(resolve)
      .withFailureHandler(reject)
      .getCloudRunToken();
  });
}
Then send it to Cloud Run:
const token = await getCloudRunTokenFromServer();

const response = await fetch(`${CLOUD_RUN_URL}/api/sheet?range=${range}`, {
  method: "GET",
  headers: {
    Authorization: `Bearer ${token}`
  }
});
The token does transit through the client, so it must be short-lived.
For a more complete production app, Firebase Auth or Identity Platform is a better long-term option: the frontend signs in the user, sends an ID token to Cloud Run, and Cloud Run verifies it server-side.
Conclusion
This article only shows one possible workaround while this bug is happening. It probably does not solve every case, but it allowed me to save some important workflows on my side.
If you have another idea or a better workaround, I would be interested to hear it.